What the effect is for
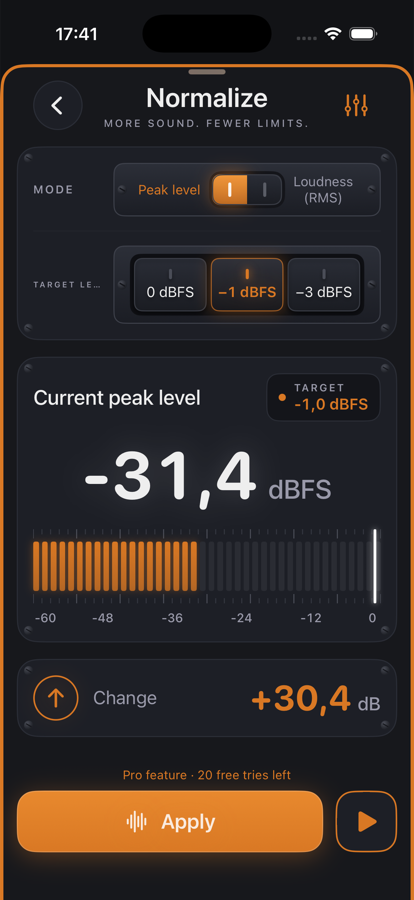
Recordings rarely arrive at the right level: voice memos are quiet, a USB interface was set too cautiously, an import from another app sits 10 dB below the rest. Normalize raises or lowers the whole range by one fixed factor so it lands on a defined level.
Two yardsticks are available. Peak aligns the loudest spot to 0, −1 or −3 dBFS — the classic, lossless way. Loudness (RMS) aligns the average level and makes recordings comparably loud; a clipping guard holds the gain back if peaks would otherwise exceed 0 dBFS.
Benefits
- ✓Measured up front: the current level sits on the LED meter, the change in dB next to it — no surprise after tapping.
- ✓Non-destructive: Undo takes the step back, the original file stays untouched.
- ✓Works on the selection or the whole file — for one quiet sentence as well as the entire episode.
- ✓Looped preview: Play runs the range with the change; mode and target are audible immediately.
Pro feature — try it twenty times for free, then a one-time unlock.